Ask Questions: Zenler's Educational Live Support Desk - October 2, 2025
 Rakesh Vallil
Welcome to our latest live support session recap! Our team answered some of the most pressing questions from Zenler users, covering everything from domain configuration to advanced email automation. Whether you're new to Zenler or looking to optimize your setup, this comprehensive guide has something for you.
Replacing Your Paid Zoom Account with Zenler's Built-In Features
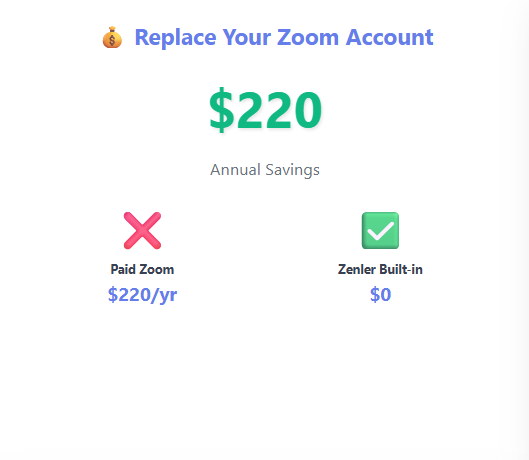
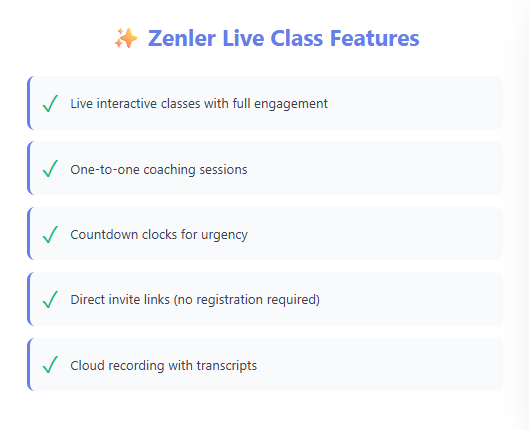
One of the most exciting discoveries from this session came from Dan, who realized he could save $220 annually by ditching his paid Zoom account. Zenler's live class feature offers full functionality for most use cases, including:
- Live interactive classes
- One-to-one sessions
- Countdown clocks
- Direct invite links (no registration required)
Pro Tip: The direct link feature was recently added to all live class types, not just one-to-ones. This gives you the flexibility to share frictionless access with your audience, perfect for volunteer groups or test audiences where requiring registration might create unnecessary barriers.
Creating Frictionless Access with Direct Links
For instructors working with beginners or volunteer groups, the direct link feature is a game-changer. Instead of forcing participants through a registration process (which can lose up to a third of your audience), you can simply share a direct link via WhatsApp, email, or your preferred communication channel.
This is particularly valuable when:
- Working with high-beginner level students
- Running conversation groups or casual sessions
- Testing new course formats with volunteer groups
- Managing communities where friction reduces participation
Closing Course Enrollment and Building Your Waitlist
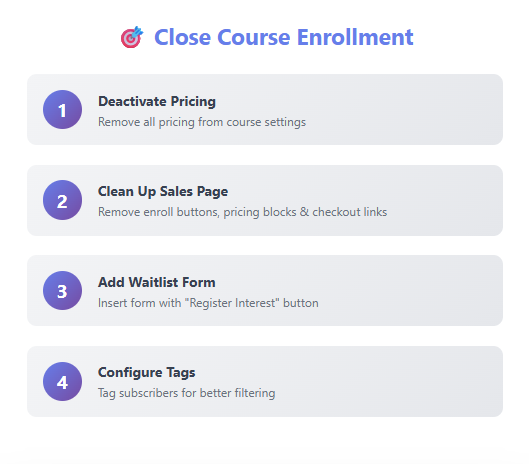
When your course enrollment period ends, you want to capture interested visitors rather than lose them. Here's the exact process to close enrollment and redirect traffic to a waitlist:
Step-by-Step Process
1. Deactivate Pricing Remove all pricing from your course settings. This prevents accidental purchases and takes just seconds to reverse when you're ready to reopen.
2. Clean Up Your Sales Page
- Remove the "Enroll Now" button
- Remove the pricing block
- Remove any links to the checkout page
- Keep curriculum information if you want (optional)
3. Add a Waitlist Form
- Insert a new row on your sales page
- Add a form element
- Customize the button text (e.g., "Register Your Interest")
4. Configure Form Settings You have two options for capturing leads:
- Email Lists: Add subscribers directly to a dedicated waitlist email list
- Tagging (Recommended): Tag subscribers with specific identifiers like "pre-enroll-October-[course-name]"
Tagging offers more flexibility for filtering and targeting specific groups in future campaigns.
5. Set Up Post-Submit Action (Optional) Create a thank you page and add its URL to the form's post-submit action. This provides a better user experience and confirms their registration.
Mastering Email Automation with Trigger Funnels
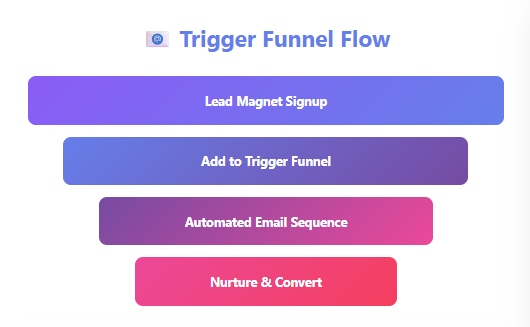
One of the most powerful features discussed was the trigger funnel—a marketing funnel designed purely for automated email sequences without any page steps.
What is a Trigger Funnel?
A trigger funnel doesn't have landing pages or checkout pages. It exists solely to send automated email sequences. This is perfect for:
- Welcome sequences for new subscribers
- "Get to know me" email series
- Nurture campaigns
- General onboarding emails
Setting Up Cross-Funnel Automation
Here's how to create a welcome sequence that works across multiple lead magnets:
1. Create Your Trigger Funnel Set up a new marketing funnel specifically for email automation. Name it something clear like "Email Automation Template" or "Welcome Sequence Trigger."
2. Add to Existing Funnels In each of your existing marketing funnels, edit the submit button settings and add subscribers to your trigger funnel. This means when someone signs up for any lead magnet, they're automatically added to your welcome sequence.
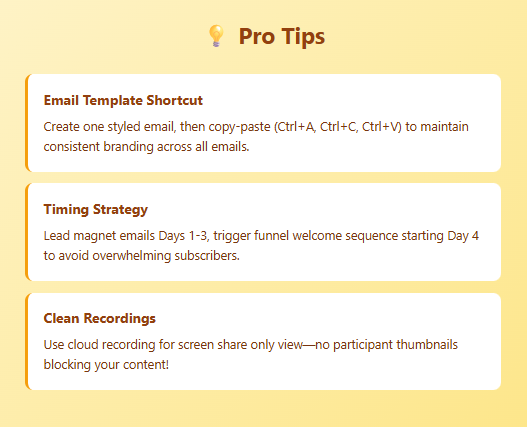
3. Plan Your Timing Carefully Make sure your trigger funnel emails don't conflict with your lead magnet-specific emails. For example:
- Lead magnet emails: Days 1-3
- Trigger funnel welcome sequence: Starting Day 4
This prevents overwhelming subscribers with duplicate or conflicting messages.
Email Template Time-Saver
Save hours of formatting work by creating a styled email template:
- Set up one perfectly formatted automation email with your logo, fonts, and colors
- Select all (Ctrl+A), copy (Ctrl+C)
- Paste into new emails (Ctrl+V) to maintain consistent branding
This works for both automation sequences and broadcast emails.
Recording Webinars Without Attendee Distractions
When recording interactive webinars, you want your presentation to shine—not have attendee thumbnails blocking your content. Here's how to get clean recordings:
Use Cloud Recording
Cloud recording (not local recording) gives you multiple video files:
- Gallery view (all participants)
- Speaker view (focused on active speaker)
- Screen share only (no participant thumbnails)
- Chat transcript
- Audio transcript
The transcript files are particularly valuable—you can use AI tools to generate blog posts, social media content, or marketing materials from them.
Control the Live Environment
During live sessions, you can:
- Spotlight yourself or specific speakers for everyone
- Ask participants to hide self-view (though this only affects their display)
- Force participants to turn off cameras if needed
- Share your screen without participant thumbnails interfering
Pro Tip: Right-click on any participant's video (including your own) and select "Spotlight for Everyone" to make them the focus of the recording.
Creating Time-Limited Replay Access
Want to add urgency to your replay offerings? Use this clever countdown timer hack:
1. Set Up Your Replay Page Add your replay video to the standard replay page.
2. Add a Countdown Timer
- Insert a new row below your video
- Add a countdown timer element
- Set the expiry date and time (e.g., 3 days after the event)
3. Configure Expiry Action
- Create a "Content Not Available" page
- Copy its URL
- In the countdown timer settings, set "Redirect to URL" and paste the link
4. Hide the Timer (Optional) Match the countdown timer colors to your background so it works invisibly. After the deadline, visitors are automatically redirected to your unavailable page.
Sharing Video Content with Students
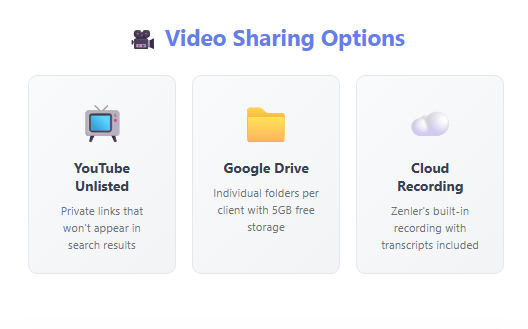
With recent changes to video sharing, many instructors are looking for the best way to deliver video content. Here are three recommended approaches:
Option 1: YouTube Unlisted Videos
Upload videos as unlisted on YouTube. They won't appear in search or on your channel, but anyone with the link can view them.
Option 2: Google Drive Folders
Create individual client folders in Google Drive:
- Upload videos and documents
- Share specific folder access via email
- Easy to manage and organize by client
- Free tier offers 5GB storage
- Paid plans start around £80/year for 2TB
Benefits:
- Clients get their own dedicated space
- You can add new content anytime
- Works for videos, PDFs, and documents
- Clients can download content if needed
Option 3: Zenler's Cloud Recording
For live sessions, use Zenler's Zoom integration with cloud recording. Share the cloud recording link, which includes multiple video files and transcripts.
Admin Dashboard Privacy Solution
If you're concerned about earnings being visible when logging into Zenler in public spaces, here's a simple workaround:
1. Navigate to Your Preferred Page Go to any page you're comfortable with (Site Pages, Communities, Email Broadcasts, etc.)
2. Bookmark the URL
The URL will look something like: yoursite.com/admin#site/pages
3. Use This Bookmark for Public Logins When you log in using this bookmarked URL, you'll be redirected to this page instead of the dashboard with your earnings displayed.
Managing Member Passwords
Members have two ways to reset forgotten passwords:
Self-Service (Recommended): On the login screen, there's a "Forgot Password" link where members can reset their own passwords.
Manual Reset: If needed, you can manually reset a member's password:
- Go to your member list
- Click on the specific member
- Edit their profile
- Update the password field
- Manually communicate the new password to them
Instructor Access to Live Classes
If your instructors can't start live classes they're assigned to, here's what's happening and how to fix it:
The Issue
Only the person who created the live class (or a site admin) can start it. It's similar to Facebook events—only the event creator or page admin can go live.
Solution Options
Option 1: Make Instructors Admins This gives them access to start sessions but also grants broader platform access.
Option 2: Set Up Sessions Using Instructor Login (Recommended)
- Open an incognito/private browser window
- Log in with the instructor's credentials
- Set up their recurring live classes
- They can now start sessions using their account
Option 3: Manual Link Sharing Start the session yourself 15 minutes early, grab the Zoom link, and email it to the instructor. They can join as a host using the direct link.
Sending Targeted Email Broadcasts
To send an email broadcast to a specific individual:
1. Tag the User
- Go to your contact list
- Find and edit the user's profile
- Add a unique tag (e.g., their name)
2. Create a Filter Group
- In Email Broadcasts, create a new filter group
- Add filter: "User tag contains [name]"
- This isolates that specific user
3. Send Your Broadcast Select your filtered group when sending the email.
Key Takeaways
This support session covered a wide range of topics, but several themes emerged:
- Zenler can replace multiple paid tools: Many users are successfully consolidating their tech stack
- Automation saves time: Trigger funnels and email templates dramatically reduce repetitive work
- Workarounds exist: For almost every limitation, there's a creative solution
- Planning is crucial: Email automation and funnel strategy require thoughtful timing and organization
Whether you're just getting started with Zenler or optimizing your existing setup, these solutions should help you create better experiences for your students while saving time and money.
Join Our Next Live Support Session
Have questions of your own? Join our live support desk every Thursday and Saturday. You can find the registration link at tutorials.newzenler.com. Sessions are recorded and posted to YouTube, and you'll receive reminder emails when you sign up.
Remember: participants with cameras on get priority for questions, but we do our best to answer everyone in the chat as well.
Have a question we didn't cover? Drop it in the comments below or bring it to our next live session!
Categories: : Live Support Desk
Copyright © 2026 Zenler. All rights reserved.
Terms | Privacy Policy | Cookie Policy | Support