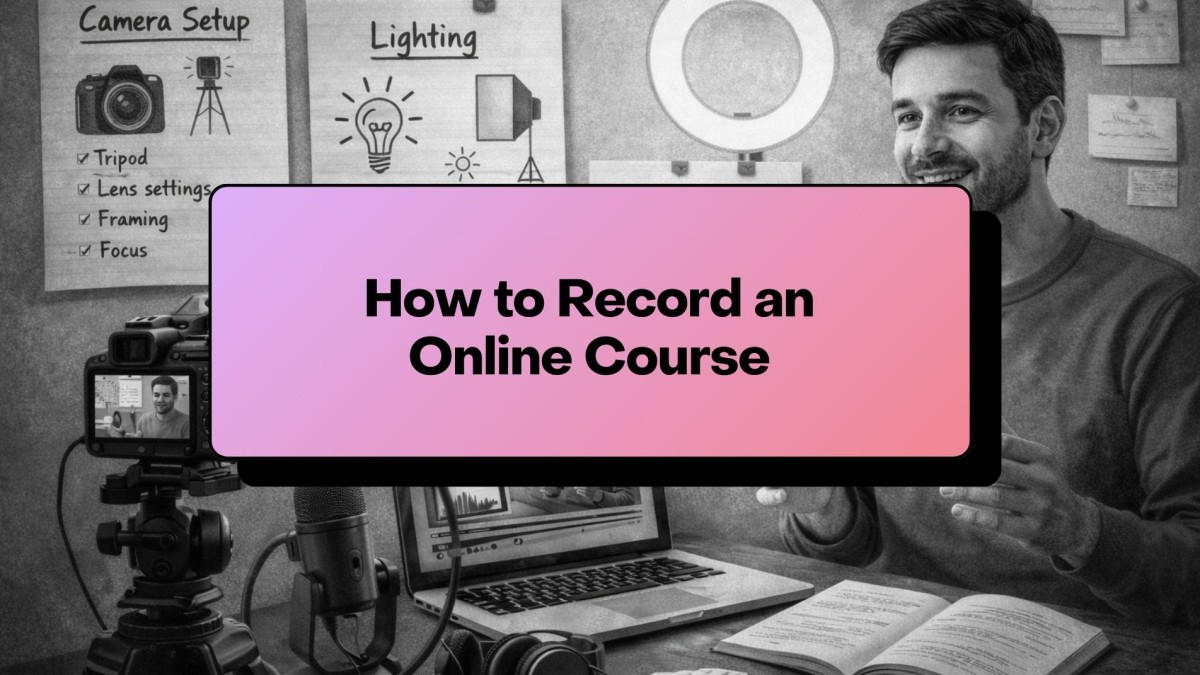
How to Record an Online Course (Beginner to Pro Setup Guide)
 David Zenler
Learn how to record an online course with simple equipment. Covers camera setup, lighting, audio, screen recording & tips for high-quality lessons.
Recording your online course doesn't have to be complicated. With the right structure and a simple setup, you can create professional-looking lessons without an expensive studio or advanced tech skills.
This guide walks you through all the essentials — equipment, recording techniques, lighting, audio, and practical tips that make a huge difference in your final course quality.
🎥 ▶️ How to Record Your Online Course — Complete Setup + Tips
Step 1 — Start With Your Recording Style
There are three main ways to record an online course:
1. Talking Head Videos (you on camera) Great for building trust and connection.
2. Screen Recording Perfect for tutorials, software walkthroughs, and step-by-step demos.
3. Hybrid Recording A mix of webcam + screen — the most engaging for many course topics.
Choose the approach that suits your topic AND your comfort level.
🔗 If you're still structuring your full course, start with How to Create an Online Course (Complete Guide).
Step 2 — Use Simple, Effective Equipment
You do NOT need professional gear. A good course can be recorded with:
Camera Options
- Your smartphone (1080p or 4K)
- Mirrorless camera (optional upgrade)
Microphone Options
- Lapel microphone (best budget choice)
- USB mic for desk recordings
- Shotgun mic for DSLR setups
Lighting
- Natural window light
- Ring light
- Softbox lights
🔗 For a complete gear breakdown, see Course Equipment Guide
Step 3 — Set Up Your Recording Environment
Choose a quiet space with:
- Minimal echo
- Soft surfaces (curtains, carpet, furniture)
- A clean or blurred background
- Good lighting
Your environment matters more than your equipment.
Step 4 — Record Clean, Clear Audio
Audio quality is the #1 factor in course satisfaction.
Tips:
- Keep the mic close to your mouth
- Avoid rooms with hard surfaces
- Turn off fans / air conditioners
- Record a 10–20 second test
- Monitor your levels before recording
A £20–£40 lapel mic beats most expensive cameras with poor microphones.
Step 5 — Screen Recording Setup
For software or technical lessons, screen recording is essential.
Tips:
- Use Zenler's built-in screen recorder or tools like OBS, Loom, or ScreenFlow
- Increase your screen resolution
- Close all unnecessary tabs
- Use zoomed-in UI for clarity
- Highlight your cursor
Screen recordings work extremely well for tutorials and walkthroughs.
🔗 Want to create a clearer teaching structure before recording? Read How to Script Your Course
Step 6 — Use the 5–Point Recording Method
This keeps recording smooth and efficient:
- State the learning outcome
- Teach the concept
- Demonstrate it
- Summarise the key point
- Give a short action step
This is the same structure used by top educators.
Step 7 — Keep Lessons Short and Focused
Shorter lessons:
- Increase student completion rates
- Reduce overwhelm
- Keep content digestible
- Make editing easier
- Reduce re-recording time
Aim for 5–10 minutes per lesson.
Step 8 — Prepare Your Recording Workflow
Before you hit record:
- Have your bullet outline ready
- Turn off notifications
- Do a lighting + framing check
- Do a quick audio test
- Keep water nearby
- Record multiple takes of the intro (optional)
Your goal is consistency, not perfection.
Step 9 — Organise Your Files for Uploading
After recording:
- Rename files clearly
- Group them by module
- Store in cloud or local backup
- Prepare for upload inside Zenler
🔗 When you're ready to upload your lessons, follow How to Upload & Structure a Course in Zenler
🎯 Recording Checklist
- Camera or smartphone
- Mic close to mouth
- Good lighting
- Quiet room
- Clean background
- Clear bullet outline
- Short focused lessons
❓ FAQs (SEO Optimised)
Q: What's the minimum equipment I need? A smartphone + lapel mic + window light is enough for 80% of creators.
Q: Should I record long videos or short lessons? Shorter lessons (5–10 min) increase comprehension and completion.
Q: Do I need to show my face? Not always. Screen recordings or slides work perfectly for many topics.
Q: Can I record everything in one day? Yes — with a strong outline. See How to Script Your Course.
🚀 Call to Action
Once your recordings are ready, it's time to upload your content and build your course experience.
Zenler gives you a complete toolkit to organise your modules, host your videos, and prepare for launch — all without tech headaches.
👉 Start building today with Zenler
📌 Your Complete Course Creation Roadmap
How to Create an Online Course (Complete 2025 Step-by-Step Guide)
- How to Plan an Online Course
- How to Script / Outline Your Course
- How to Record an Online Course
- Course Equipment Guide
- How to Price Your Online Course
- How to Upload & Structure a Course in Zenler
🎥 Watch the Full Video Series
Prefer to learn by watching? We've turned this entire guide into a step-by-step video series on YouTube.
👉 Watch the Course Creation Playlist
Categories: : Course Creation
Copyright © 2026 Zenler. All rights reserved.
Terms | Privacy Policy | Cookie Policy | Support